
The Ultimate Guide to Exterior Car Detailing
Keeping your car looking its best is important for both aesthetic and practical reasons. Not only does a clean and well-maintained car enhance its appearance and give you a sense of pride, but it can also help protect its value in the long run. Regular exterior detailing is an essential part of maintaining your car’s appearance and value, as it can help prevent damage to the paint, prevent rust and corrosion, and keep your car looking newer for longer.
We understand that exterior car detailing can be a daunting task, especially for those who are new to it. That’s why we’ve created this guide to provide you with a step-by-step approach to exterior detailing, so you can follow along and complete each task with confidence. By the end of this guide, you’ll have a deep understanding of the techniques and products needed to keep your car’s exterior looking its best.
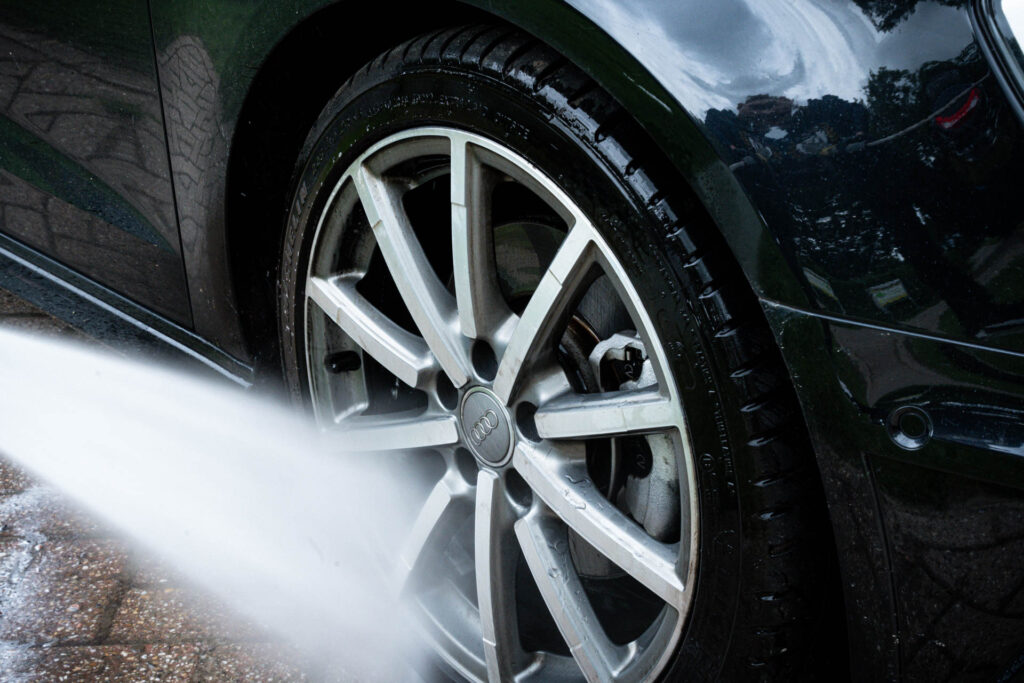
Step 1: Wheels
It is important to always start with the wheels. The wheels are the dirtiest part of your car and by cleaning them first you will prevent the risk of splashing dirt and brake dust onto your clean paint.
Start by spraying a high quality wheel cleaner from the bottom up onto your wheels and let it settle for about 3 minutes. With our own Custom Wheel Cleaner, you will notice that the product will turn purple in these 3 minutes, assuring you that all the grime has been reached. Next up, agitate the now purple wheels using a clean sponge or wheel brush and rinse thoroughly with clean water before moving onto the next wheel. After you’re done, wait before applying our or any other tire shine product. This should be done as one of the last steps in the process.
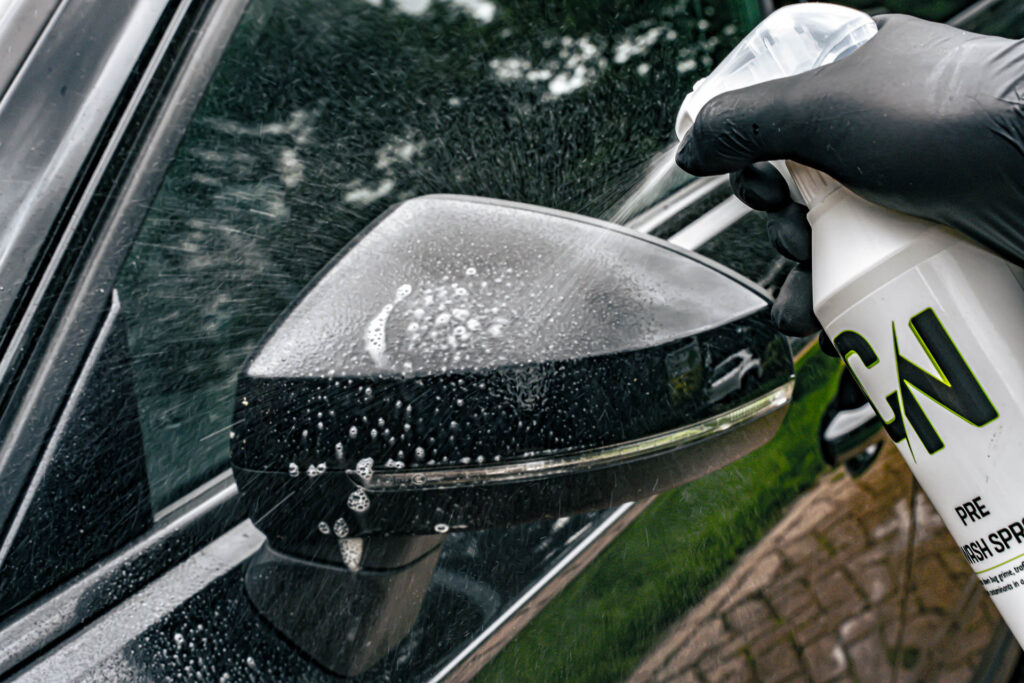
Step 2: Pre-Washing
After you’re done hurting your back from the wheel cleaning process, it is time to use some Pre-Wash Spray to get rid of stubborn bug grime, traffic film and other contaminants. Simply spray the product onto the most contaminated areas of your car, let the product settle for 3 to 5 minutes and rinse it off with water. Use a clean microfiber towel if necessary but keep in mind that you should never rub on areas with dirt to prevent swirl marks. Using a high-pressure washer to rinse off the product will give you the best result, so we strongly recommend using it!
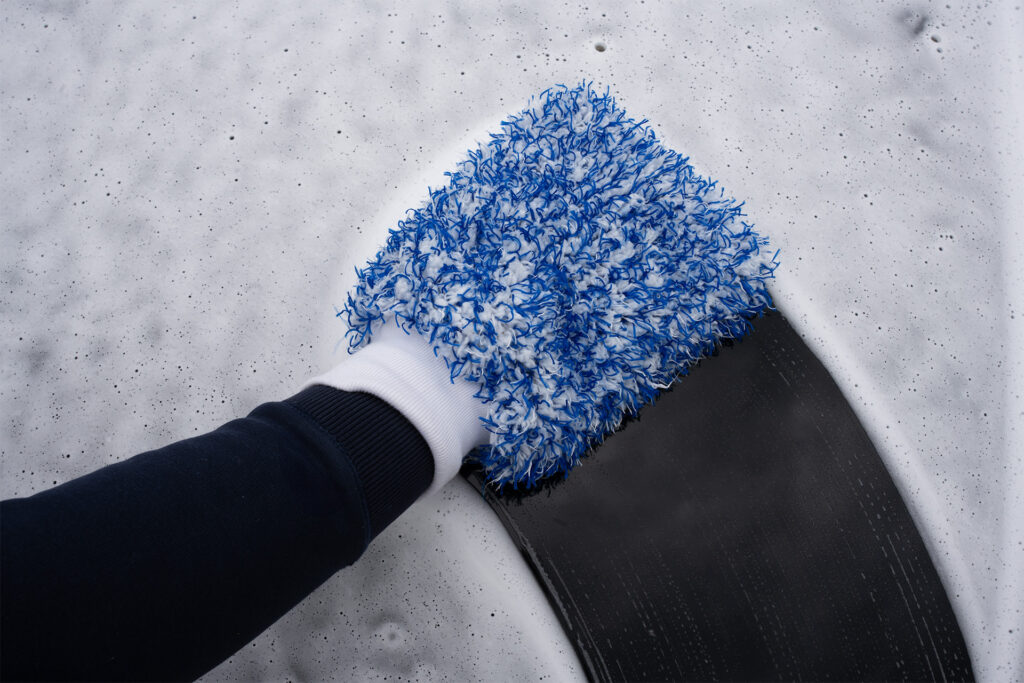
Step 3: Cleaning
Now we are fully set to start cleaning the cars exterior with a contact wash. For this step we want to use the two-bucket method. This method allows us to clean our car without contaminating the wash solution during the process. Simply fill one bucket with a wash solution, preferably using our Premium Car Shampoo, and the other bucket with clean water. We now want to wash our car using a wash mitt safe for car paints and wash from the top to bottom. Then dip the wash mitt in the bucket with clean water and repeat the process. Make sure to always make horizontal and vertical lines with your wash mitt to minimize the risk of swirl marks.
Step 4: Drying
Dry the car by using a clean big microfiber towel, preferably our magnet drying towel, to ensure that you can dry the whole car with one towel without having to wring it out. Start at the top of the car and work your way down. Make sure to dry one panel at a time because it is the easiest way to make sure that every part of the car becomes streak free.


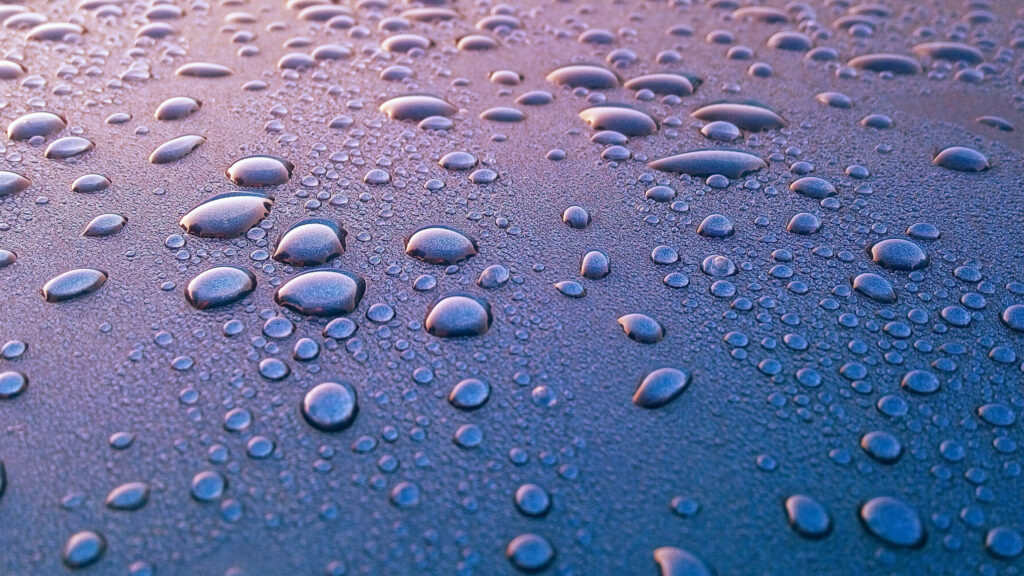
Step 5: Wax
Now that the car is clean and dry, we want to apply a sealant to protect the paint from natural elements like rain, dirt and sunlight. Our Spray Wax Coating provides cars with this protection while also leaving a long-lasting deep shine onto your paintjob. Simply spray the product onto your car and wait a few seconds before rubbing it out using a clean microfiber towel or applicator pad. It is important to work at one panel at a time and switch sides of the towel or applicator pad once you’re done with a panel for the best result.
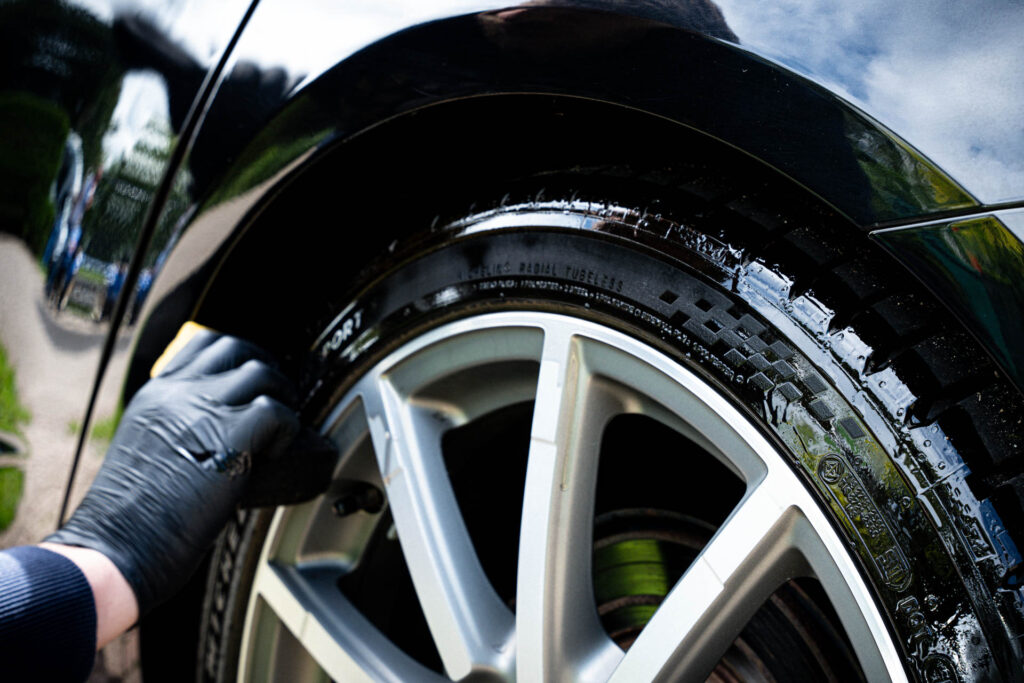
Step 6: Tire Shine
Now that we are done with the paintjob of the car, it is time to return to our wheels. We will be adding a layer of tire shine to our wheels to restore the tire’s shine and cover up the natural blooming effect. You can read more about this natural process on our product page here.
To start off we want to make sure that our tires are clean and dry. Now rub out the product onto the tire wall using a clean tire applicator, vinyl sponge or tire brush. It is important to only apply the product onto the tire wall and not onto the tire tread (footprint) as this may result in a loss of grip and can cause dangerous slippery situations. Once you’re done with the process, we prefer to wait at least 30 minutes before driving your car.
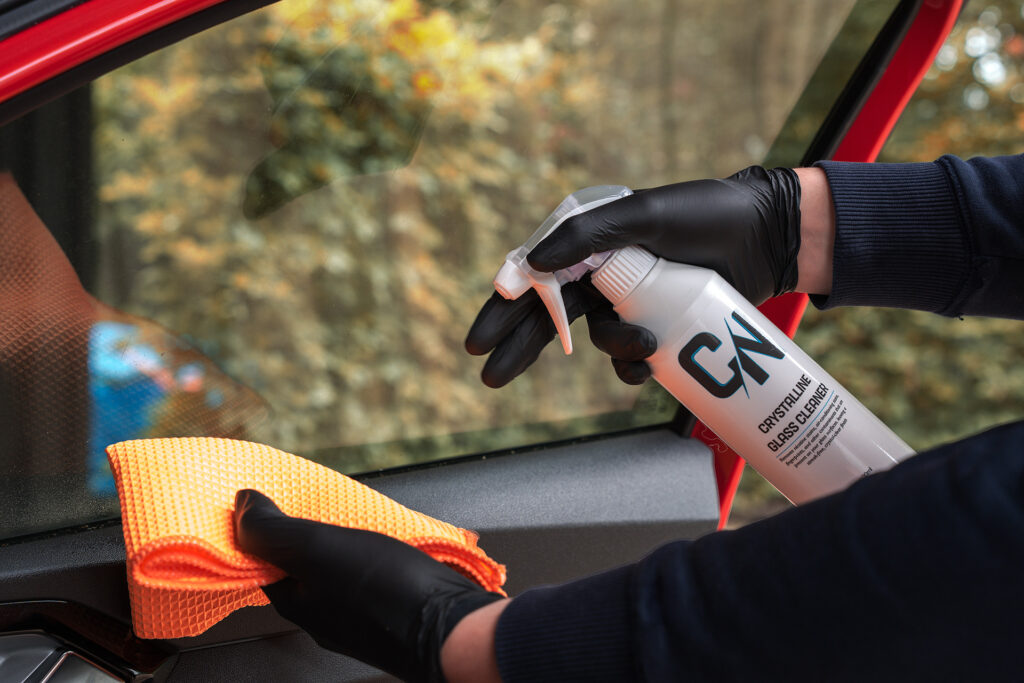
Step 7: Glass
One of the most overlooked parts of the process is the glass. See what we did there. A high-quality glass cleaner like our Crystalline Glass Cleaner is important because it is capable of removing nicotine and air-conditioning stains that are not always visible to the bare eye. This may not be the case while using glass cleaner on the outside off the glass but is an important thing to keep in mind while cleaning the interior. Using a glass cleaner is pretty simple, spray the product onto the car window from the bottom up and wipe clean using a clean lint free microfiber towel for a streak free result.
Finally, take a step back and inspect your work. Use a detailing brush to clean out any remaining nooks and crannies. By following these tips and using high-quality products, you can give your car a like-new appearance that will turn heads on the road. Don’t neglect your car’s exterior – invest in regular detailing to keep it looking its best.
Verdict
Thank you for reading our ultimate guide to exterior car detailing! We hope that you found the information and tips provided in this guide to be useful in achieving a professional-grade finish for your car’s exterior. Regular exterior detailing is crucial in preserving the appearance and value of your vehicle, so be sure to follow the steps and techniques outlined in this guide consistently.
By using the right products and tools, as well as the knowledge gained from this guide, you can achieve a stunning, showroom-quality finish for your car’s exterior. Following the techniques and tips we’ve provided can help protect your investment and keep your car looking like new for years to come.
If you have any additional questions or comments about exterior detailing, please do not hesitate to reach out to us for further guidance. We’re always here to help you achieve the best results for your car’s exterior. Thank you again for reading our guide, and we wish you all the best in your exterior detailing endeavors!
Not done reading? Have a look at our stories!
- Top 5 Car Cleaning Tips to Keep Your Car in Great Condition!
 Step into the world of automotive brilliance with Carnetics’ Top 5 car cleaning tips, where we unveil 5 secrets of achieving a flawless finish for…
 - The Ultimate Guide to Interior Car Detailing – Everything You Need to Know
 Welcome to our comprehensive guide on interior car detailing. A clean and well-maintained car interior not only looks great but also…
 - The Ultimate Guide to Exterior Car Detailing – Everything You Need to Know
 Keeping your car looking its best is important for both aesthetic and practical reasons. Not only does a clean and well-maintained car enhance its appearance…